Collections

All
6416 deviations
Featured
2285 deviations
Upcoming Improvements to Core Membership
We’re lowering the price of Core, adding new benefits, and introducing two new packages for deviants who want to get even more from their DeviantArt experience. When reimagining Core Membership, it was important to create packages that meet the diverse needs of the DeviantArt community. For some deviants, this means a Core package that emphasizes increased customization and early access to new features, while for others, it means a Core package that enhances their ability to monetize. This is the first step at expanding Core Membership and adding flexibility to meet the needs of more deviants. The new price of Core Membership has been reduced from $5.00 USD per month to $3.95 per month. This includes all features currently in the Core package — plus new ones! For deviants who want even more, we’ve created two new packages: Core+ and Core Pro. These packages offer lower fees on your digital sales and the ability to set higher prices, so it’s perfect for those looking to maximize their
DeviantArt Featured Updates
3 deviations
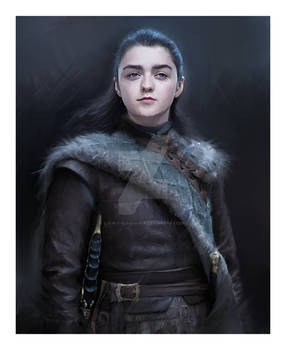
Game of Thrones
2 deviations

Digital Art
218 deviations
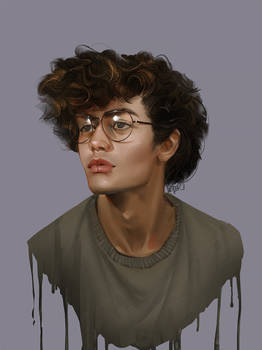
Digital People
94 deviations

Portraits
332 deviations
Donald Trump "Fan" Art
11 deviations
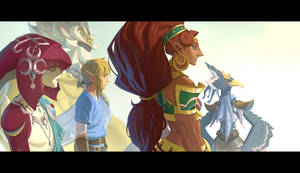
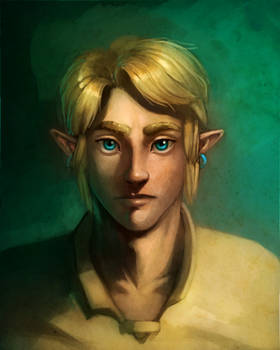
Zelda: Breath of The Wild Fan Art
77 deviations
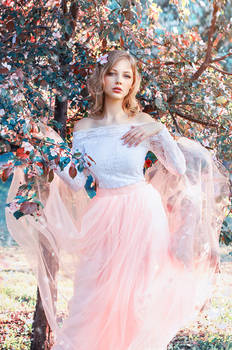
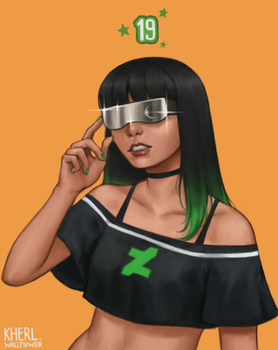
Fashion Portraits
108 deviations

Beautiful Planet
113 deviations

Defy Gravity
96 deviations
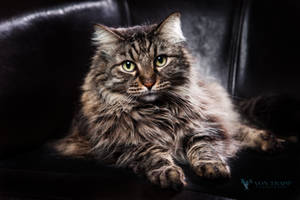
Adorable
136 deviations
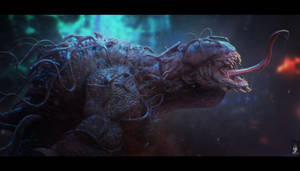
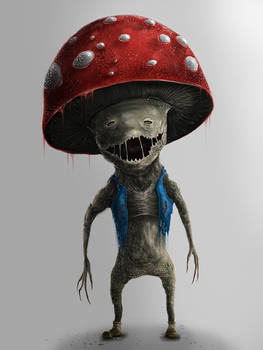
Imaginary Monsters
135 deviations
Imaginary Worlds
137 deviations
New DeviantArt Logo
49 deviations
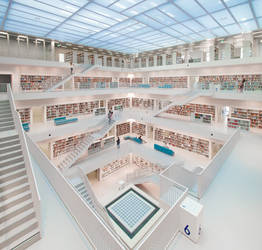
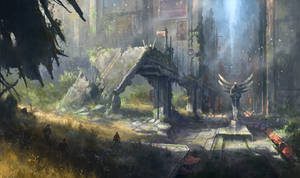
Architecture
18 deviations

Octopus
27 deviations
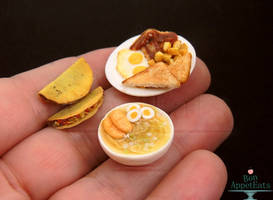
Miniature Food
252 deviations
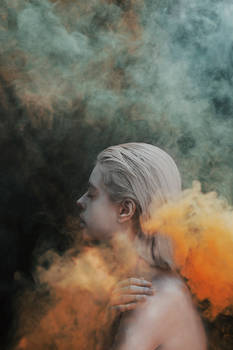
Powder Portraits
87 deviations

Amazing Adverts
4 deviations

Anonymous
51 deviations
:la: Pumpkins
29 deviations

LGBT Political Journalism
8 deviations
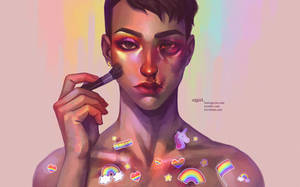
LGBT
32 deviations
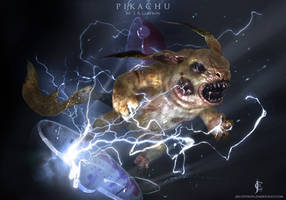
WTF Pikachu
57 deviations

Minecraft
157 deviations

Wut?
28 deviations

AOTS Keyboard Cat Gallery
3 deviations

Prints I Own
8 deviations

Food Porn
11 deviations
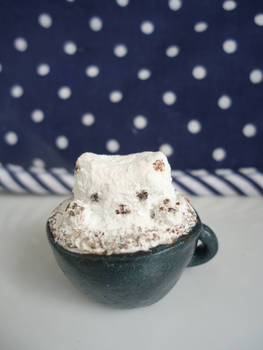
Latte Art
38 deviations
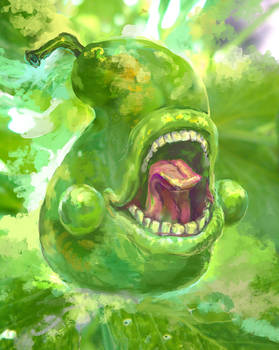
The Biting Pear of Salamanca
86 deviations
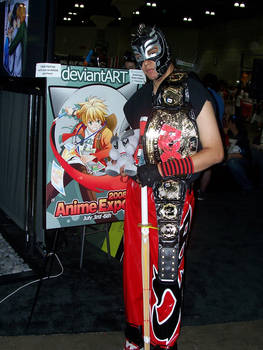
dA at Anime Expo 2008
9 deviations
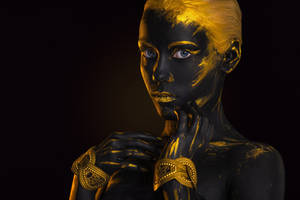
Painted Faces
47 deviations

Trollface
23 deviations
Hide Your Kids, Hide Your Wife
21 deviations
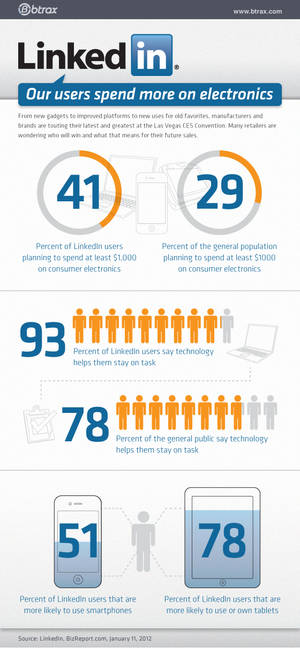
Infographics
17 deviations
NASA Endeavour Launch Art Feature
33 deviations

Macros
6 deviations
Angry Birds
160 deviations
Untoons
90 deviations
My version of DeviantART Eclipse
For the past two days I've been trying to come up with an idea about how the site's layout update should be.
Suggestions regarding the Core members' benefits:
Core members should have the ability to customize their background image or colors.
The number of Custom boxes should be 20 instead of 10 for Core Members.
Access to all of the widgets that already existed in this site.
Core members being able to change their username every 3 months.
Suggestions regarding the NON-Core members' benefits:
Non-Core members should have the ability to change the colors of their backgrounds.
Non-Core memebers should be given the right to have a
deviantART Suggestions
14 deviations
Zelda
214 deviations

Cinemagraphs
10 deviations

Water Droplets
143 deviations

Dubai
70 deviations

Milk
42 deviations
Limbs
29 deviations
Design
4 deviations
September 11
7 deviations
Featured2.3K


Hey everyone! Wow, just want to shoot out a massive THANK YOU to all of you! Seriously, I couldn’t have hit this insane milestone without every single one of you backing me up. Your support on DeviantArt means the world to me, and hey, we’ve made it big together! You guys are the real MVPs here. Every comment, fav, and purchase adds up to something pretty epic. And because you’ve been there for me, I want to give back something cool. Heads up – I’m dropping some free art soon! For all my buyers, get ready for an exclusive piece coming your way to say a big thanks. And to all my watchers, you aren’t left out – I’ve got something special for you too. Your cheer means just as much. Keep your eyes peeled in the next few days. We’re gonna celebrate this in style! Thanks a ton, everyone! Check this out! Miko